Punch Out Shadowing in Cricut Design Space
| Create a Shadow Punch Out in Design Space |
This is going to be a 12 step process on how you can create a punch out effect inside of Cricut Design space. Now this process should be used if you have no means of using a outside program such as Inkscape or Sure Cuts A Lot 4. This will get you as close as you can to a shadow punch out.
Select the text and convert it to a Print Icon for now.
First we need to make this a print icon because we're actually going to somewhat go through the process of printing this however we are not going to print anything.![]()
![]()
Click Make It
We are now going to click on the make it button next - so that we can go to the print screen that we need in order to get this text to be a shadow you'll see what we mean in the next few steps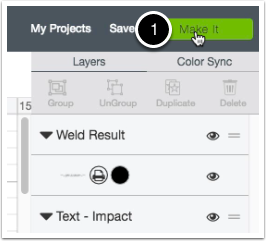
![]()
On Print Mat Click Continue
Now that were on the make it screen on the print mat we're going to need to click on the continue button. Keep in mind we are still not printing anything we just need to get that shadow effect on this text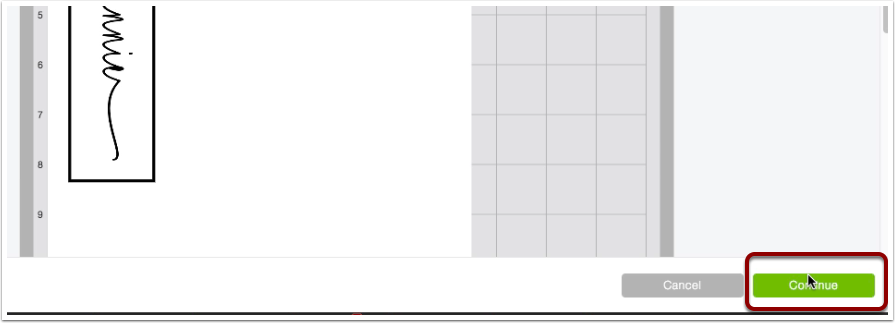
![]()
Click Send to Printer
We're going to click on the button that says send to printer. This will allow us to see a new screen of a print preview it is there where we will need to capture the shadow image however there are a few settings that we need to make sure are in place.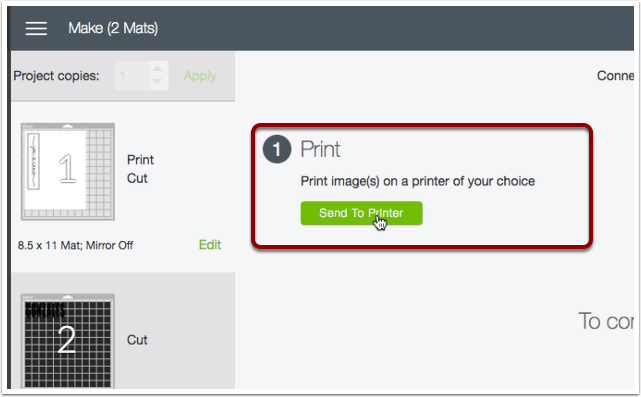
![]()
Bleed ON and right click SAVE IMAGE AS
Now this stuff is pretty important we need to make sure we have a couple things here first is the bleed option it needs to be turned on that will be indicated by a green icon. Next we need to hover or mouse over the Cricut mat and right click on the image and choose save image as.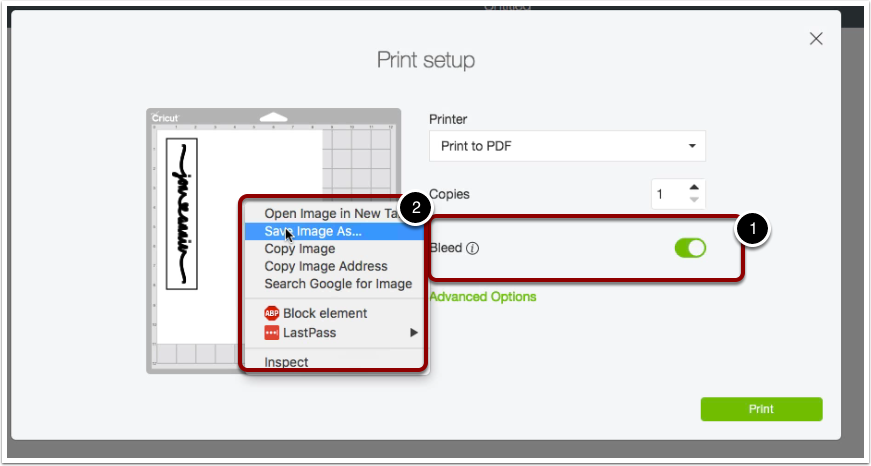
![]()
Cancel the Print and Go Back to Original Canvas
Now we need to go back to the canvas so we can cancel out of everything we do not need to print we do not need a cut anything at this point.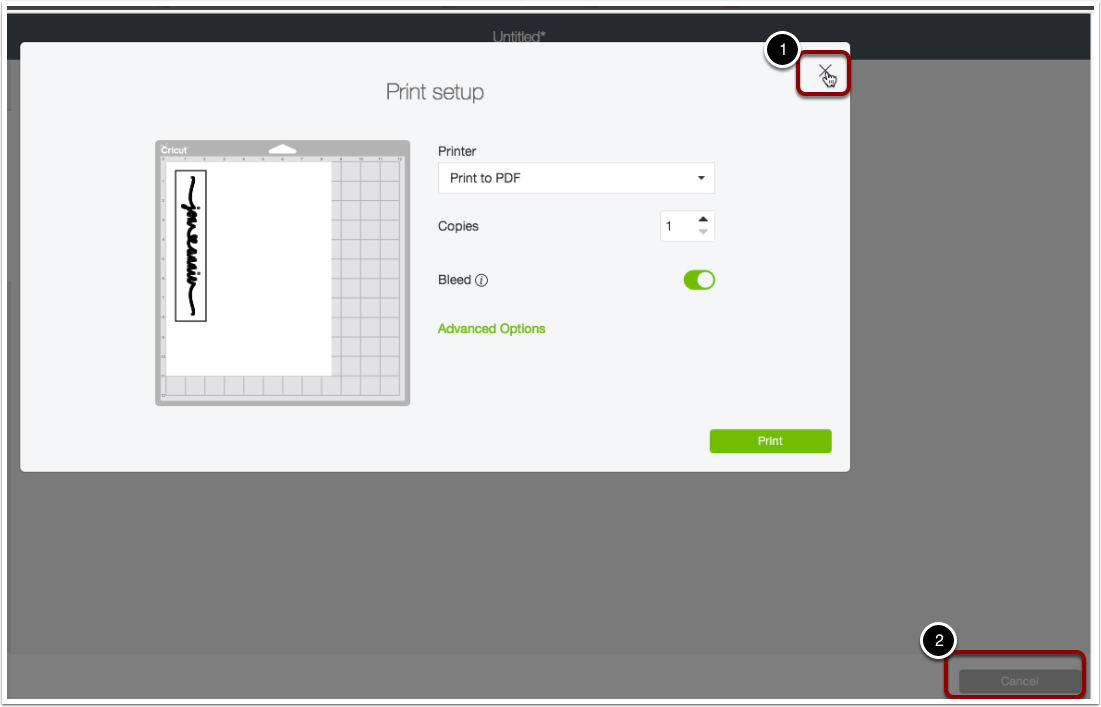
![]()
Time to Upload the Image We Just Saved
Now it's time to upload the image that we just saved by clicking on the upload button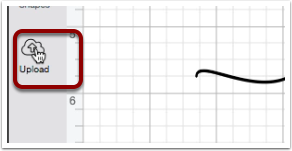
![]()
Upload Image and Choose Simple
You need to choose the image type to be simple and click on the continue button.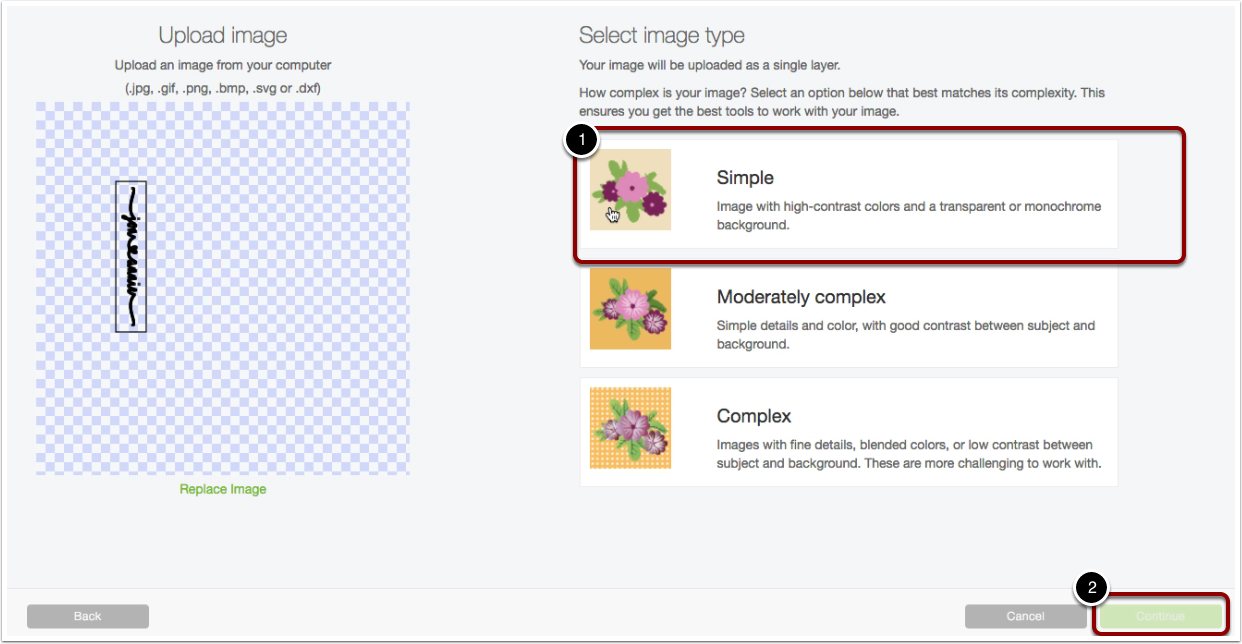
![]()
No Editing On This - Just Click Continue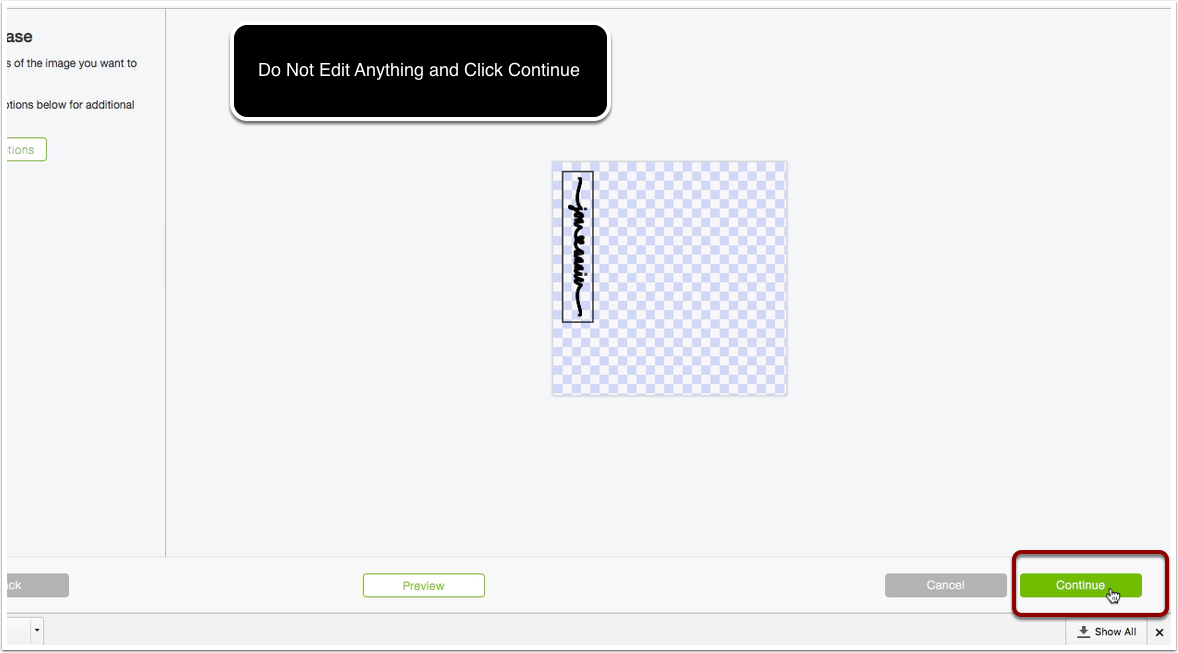
![]()
Choose Image Cut and Continue
At this point it really doesn't matter which one you choose I'm going to go ahead and select the image cut rather than the print then cut. Click on the continue and then it's almost time to put this on our campus.
![]()
Select Item and Insert Image
Make sure that the image is selected by the green border been present and then click on the green button that says insert images.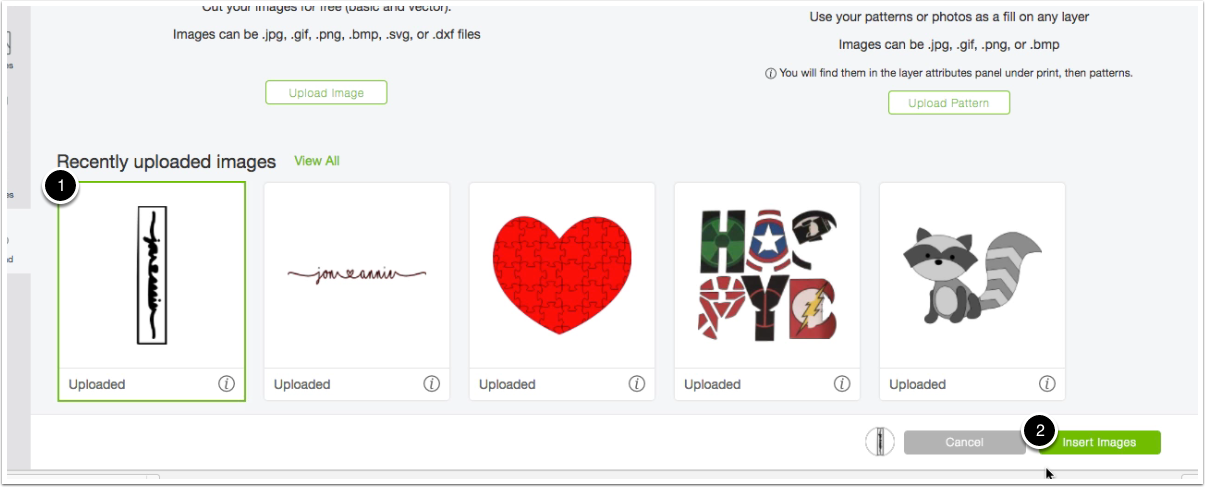
![]()
Rotate and Resize the Shadow Image
You're going to want to rotate and resize the shadow image to be about the same size as your text. You can do this very easily by getting you very close by adjusting the width and height from the menu at the top.
![]()
Click on Contour
This point we are trying to get rid of that box that you see around the shadow and in order to get rid of it we are going to use the contour feature in the program.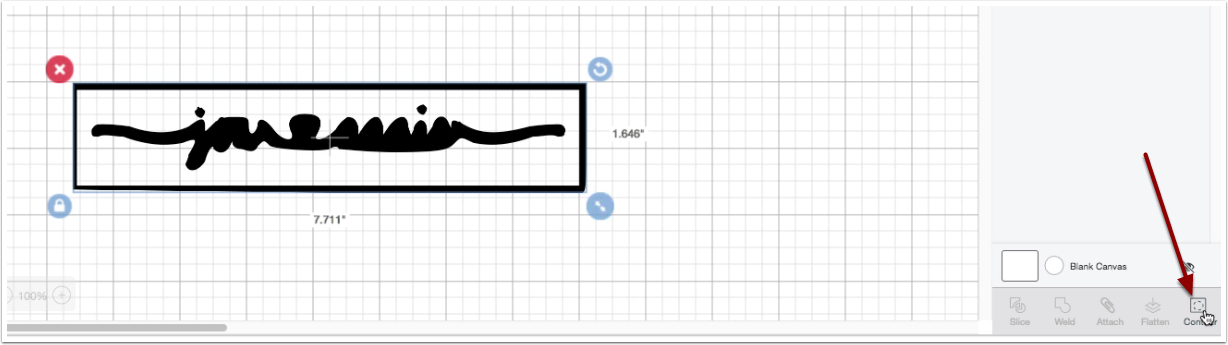
![]()
Top Two Lines are Shaded Gray
In contour mode we need to make sure that those top two bars that you see in this image are shaded gray this will essentially allow us to keep the shadow and remove the border.
Once you are finished you can go ahead and exit contour mode by clicking on the mat.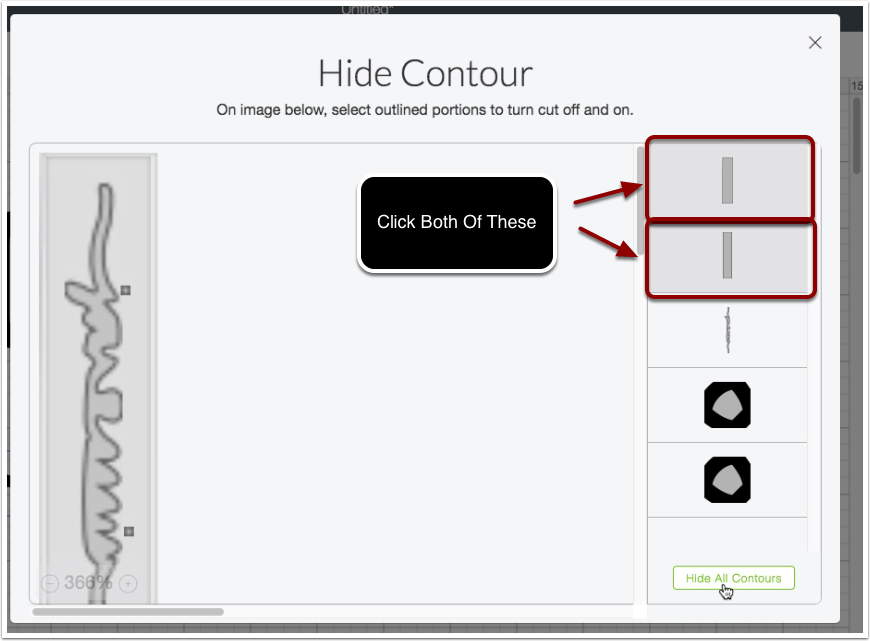
![]()
Reposition the shadow text over Main Text
You'll need to position the shadow text on top of the text where you would like the slice to occur.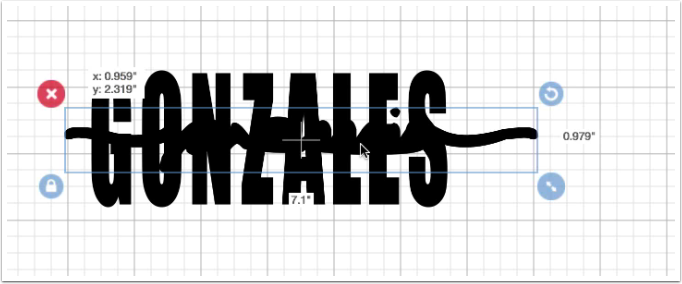
![]()
Select both Name and Shadow Text
You will want to make sure that you select both the text and the shadow text so that you can perform the slice action inside this program.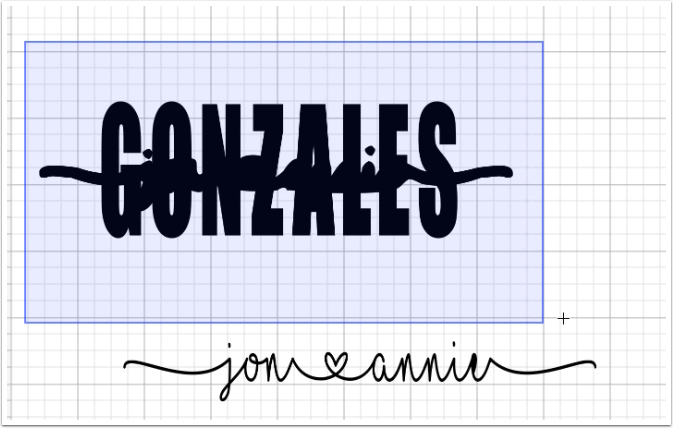
![]()
Click Slice Button
![]()
Delete the insides
You're able to delete the insides of those shapes from the slice function. As you can see the shadow text has been removed from the main name.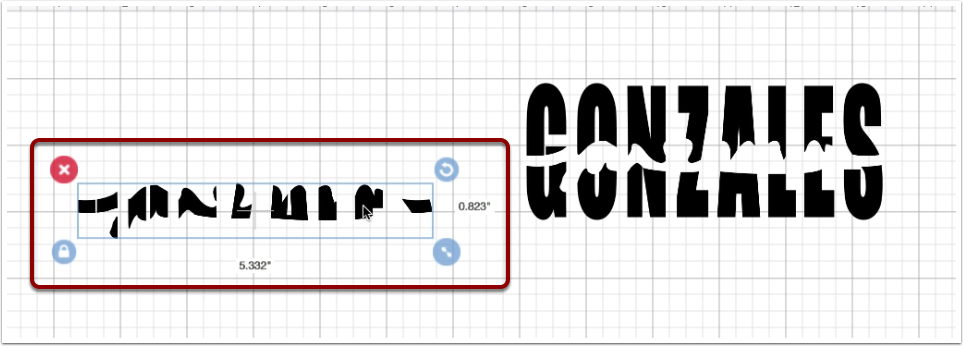
![]()
Reposition and you are finished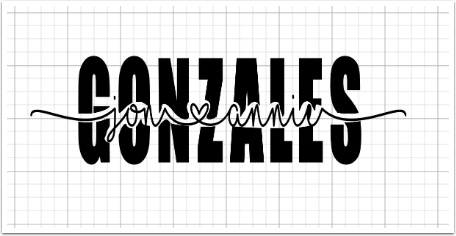
A Video on How to Do this in Sure Cuts A Lot